|
|
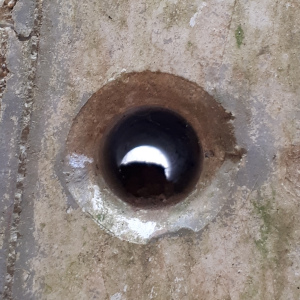
FRP threaded rods.
Fibre reinforced polymer (fibreglass to you and me) rods are cast in
-
to avoid holes
-
to avoid repairs
-
to avoid missing or leaking repairs
FRP threaded rods remove one of the causes of leaks.
The drawback using FRP rods is that they will not screw on tightly enough to hold the whole form upright during the concrete pour, as the steel version can.
It is therefore necessary to brace the formwork to hold it upright.
But when the bracing doubles as your staging, it is just as cost-effective.
|
|
|
What does everyone else specify and build?
Seasoned professionals will all use steel threaded rods in a plastic sleeve. They leave the plastic sleeve as a hole through otherwise waterproof concrete; or else they fill the holes but some leak.
|
Everyone else leaves holes through otherwise waterproof concrete.
What should you do instead?
Threaded FRP rods and nuts. They leave no holes through waterproof concrete.
|
|
|
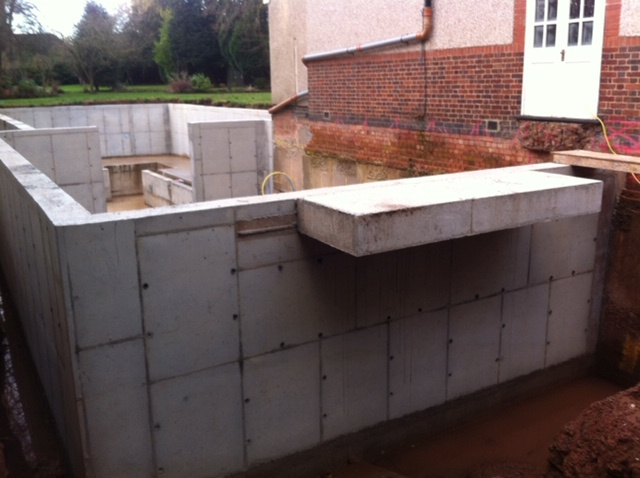
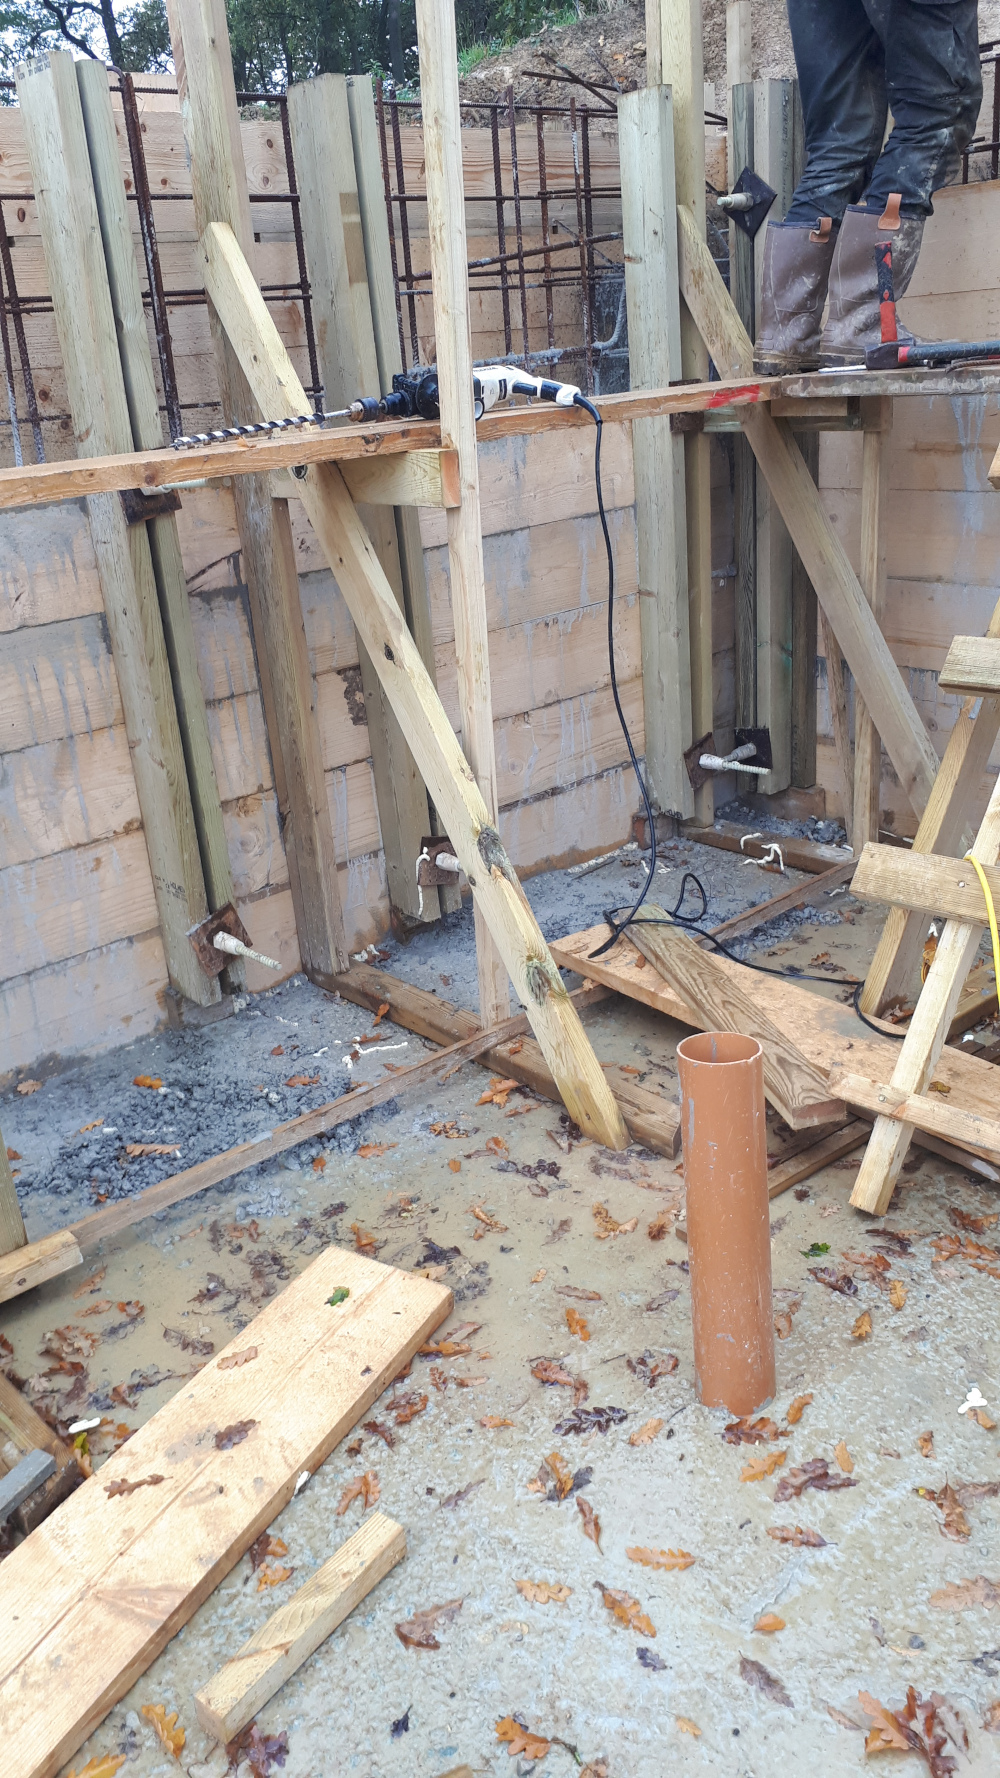
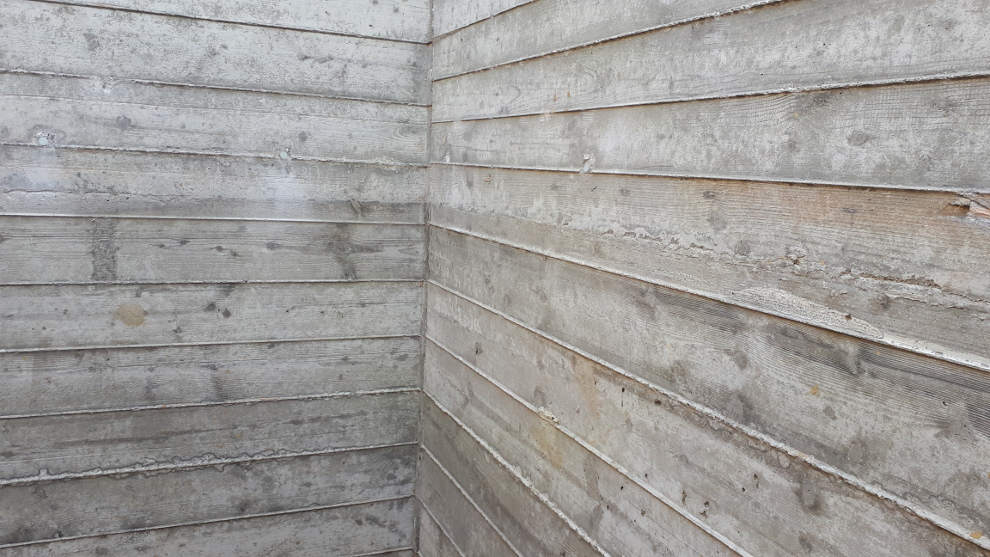
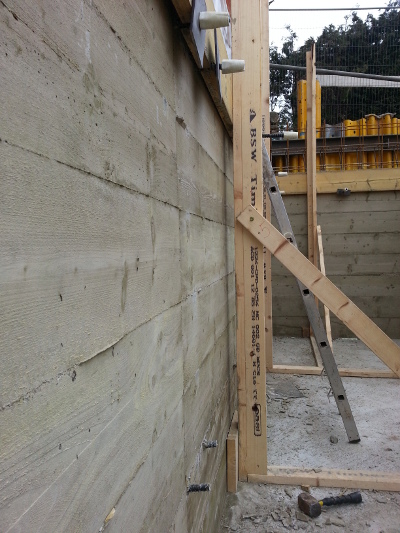
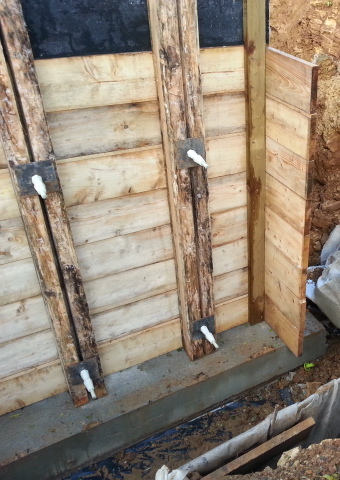
The rods are sliced off flush when they are finished with. In the photo above, the team used roofing batten to create holes for the rod without cutting the timber.
|
Whereas in the photo below a different team chose to notch their timber instead.
Traditionally and still, formwork carpenters use a steel threaded rod through plastic tubes to hold formwork together.
They can wind them up very tight and undo them easily.
When the formwork is struck they re-use the steel rods again and again.
But they leave holes formed by plastic tubes.
Holes in otherwise waterproof concrete is fairly ridiculous.
|
|
|
|
|
|
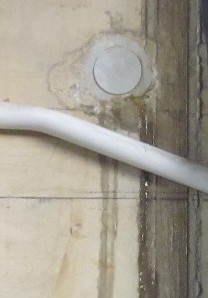
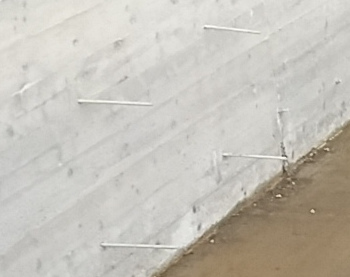
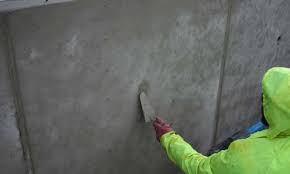
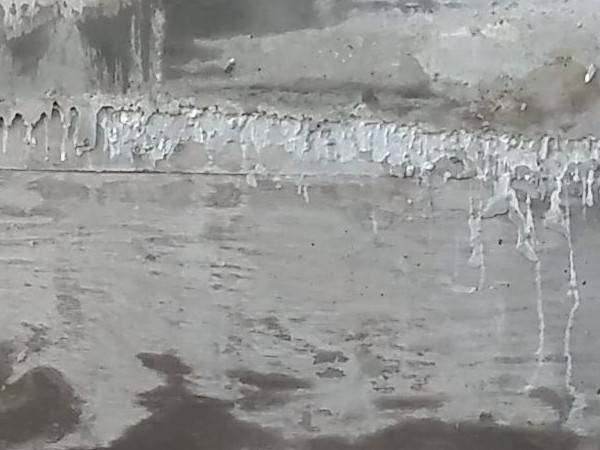
This is a threaded bar hole repair in Caltite waterproof concrete that did not work. Other similar leaks in this Cheshire footballer's new mansion with underground football pitch were behind plasterboard.
The most expensive projects are plagued with problems.
|
-
It costs the sub contractor a lot of money to fill in hundreds of holes.
-
It causes the main contractor a lot of worry - were any of the holes missed?
-
It costs the client a huge headache in costs and delays when the building is ready but there is water coming in from behind the plasterboard. But where is the leak? How much plasterboard do you have to take down to find it?
Much simpler and cheaper, therefore, to use a single-use rod that will be waterproof for all time, every time.
I regularly get calls from people about leaks in new basements. In January 2018, an architect was telling me that his last basement project cost £1million and they were chasing leaks for a whole year.
Much easier and better to buy 1m FRP threaded rods costing £3.50 and nuts £2.00 each. Therefore a set costs £7.50. No VAT.
There are many variations how to use them.
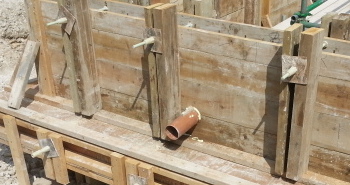
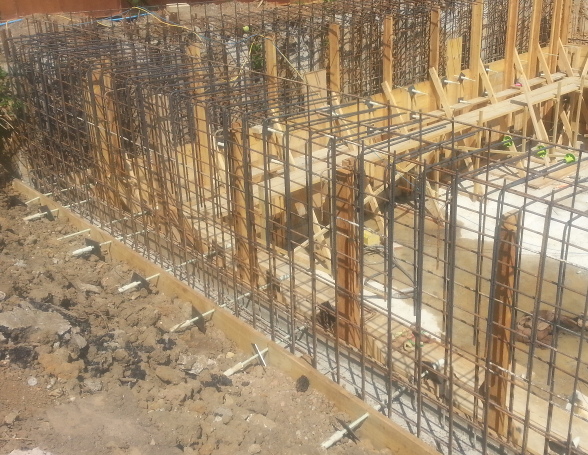
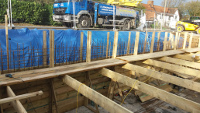
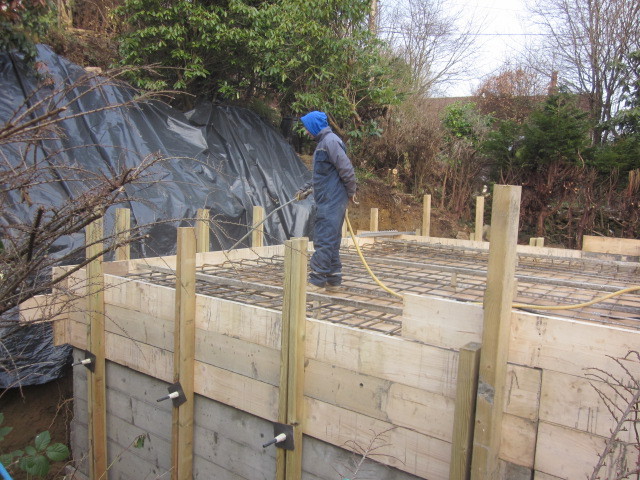
Rods into piles.
This timber is largely scaffold board seconds and 4x2 and 6x3.
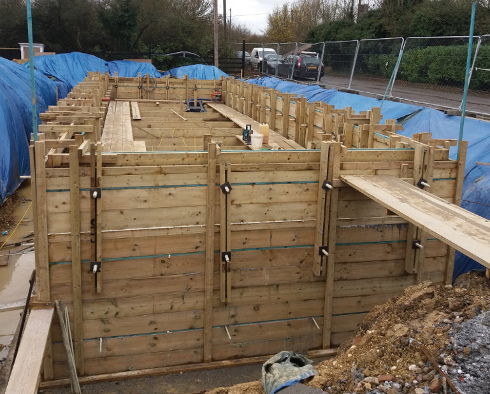
Here, the far wall has 4 rows of rods to pour the first 1850mm high because the rods were resin anchored into piles, and the pile concrete is the weakest part of the arrangement and we did not want the rods to pull off large chunks of pile concrete. This means the piles were the formwork one side and the timber the formwork the other side.
This represented a huge saving compared to hiring in single sided formwork.
The near wall was cast when the soil was still excavated and there were three rows of rods for the same 1850mm high concrete pour.
The top row of rods is being used a second time as the bottom row for the top pour. None of the timber was disturbed. It meant using a lot of timber once but it was to be used in the house anyway.
|
|
|
All these rods have two nuts on each end. This was only the second time we used these rods. The first time we discovered we could not undo a single nut without twisting and splitting the rod. So we were trying two nuts to see if they undid.
But most customers since have used only one nut once and cut through the nut to remove it when they strike their formwork. You will probably be able to unscrew the top nut that held less pressure. But not the bottom nut.
To be safe and sure, if you are going to use a row of rods twice, put two nuts on for the first pour.
You will have bought and you will use both nuts again. One on the row used twice and the other on the very top row.
|
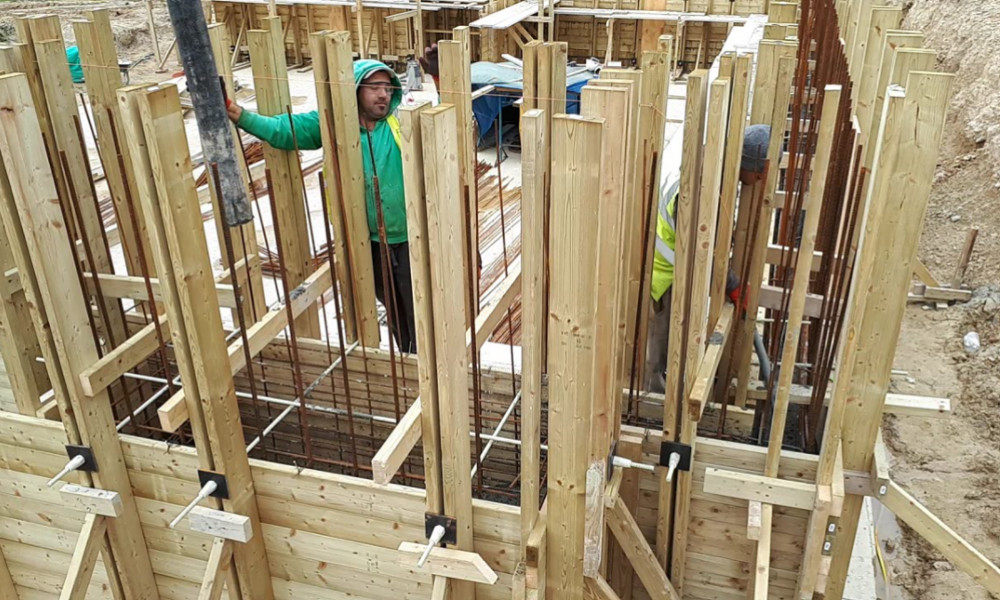
If your basement is narrow enough you can prop one side to the other with temporary joists and stand on those instead of staging.
|
|
|
This next customer used three rows of rods using the middle row twice. He used nuts in pairs. His first pour was 7 scaffold boards not 8 so 1625mm high.
It turned out to be a mistake having the first row of rods two scaffold boards off the bottom. The bottom row should be above one timber plank only.
Fill the wall to just over half height before continuing.
The middle row of rods should be just below the top timber plank of the first pour. You can see that when the formwork was built to the top for the second pour that the timber strongbacks were lifted up and used a second time.
|
|
|
In due course customers complained about buying enough timber for all the walls and dismantled the timber after the first pour then rebuilt it for the second pour.
Pour the concrete to half height or a little bit higher.
Wait for the concrete to gain some strength, minimum 72 hours.
Strip the timber, build it again to the top.
It might save timber but you might have trouble unwinding the nuts.
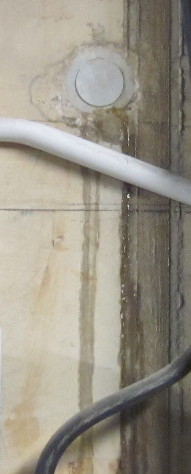
Stripping the formwork and using it again higher up caused the second formwork to push apart slightly so that grout from the second pour trickled down the first. This is not good, it means that the concrete has lost grout and the stones somewhere have less cement bonding them.
I have found that if the top board of the first pour has screws through it, it can remain fixed to the concrete when the bottom formwork is struck. Then, the top formwork can be built off the fixed board and when it spreads slightly it doesn't leak like it did in this picture.
I would add that this issue is common to all formwork and 'industry specialists' often lose grout at the bottom of their walls against their kicker.
|
|
|
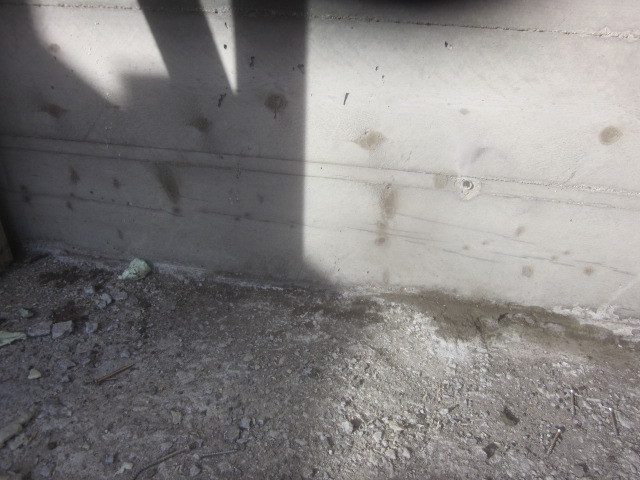
That looks a bit messy.
A more serious concern is that your top concrete is supposed to be waterproof. But it might not be if it lost too much grout.
I do not want you to make the mistakes I did learning how best to use the FRP threaded rods and timber formwork.
The only way to do that is to show you what went wrong to lead us to how we do it today.
All design is a compromise.
Filling a wall in two pours, bottom then top, will usually see the second formwork push out sightly and you get this effect.
Most clients are going to cover their concrete and this appearance doesn't matter.
It is better to have this appearance instead of leaks all along the bottom because you filled the wall bottom to top in one pour and failled to deliver the concrete to the bottom in good condition or get all the air out.
|
|
|
The appearance can be improved quite a lot because these snots, as they are appropriately nicknamed, knock off fairly easily with a hammer and chisel. The runs of cement paste come off with a wire brush.
We experimented recently with fixing timbers to the top of the first pour of concrete before continuing up with formwork so that when the top formwork expanded slightly the fixed timber beneath it would reduce the snotting.
Don't cut rods off too quickly.
Plan what you do next.
If you have a corbel to form, a concrete roof to pour, or anything else that would benefit if you already have a threaded rod cast securely in the wall below, use 2 nuts so that you can get them both off and use the threaded rod and the nuts again.
These rods are stronger than steel in tension but they twist easily and the nuts are designed to bind on. That is why we use two nuts if we want to use the rod a second time, because two nuts each bind on a lot less than a single nut.
You can only use the rod and the nuts again if you used nuts in pairs.
Here you can see that we formed a chimney breast base in solid concrete. A terrific waste of concrete but the customer's structural engineer insisted it was the only way.
It is not the only way. I would usually expect the base slab to be bigger under the chimney breast, the retaining wall the same width alongside it and this mass of concrete formed with cheap concrete blocks.
However, you can see how rods can be used in two directions which is often useful forming odd details. Join rods with a whole 70mm nut.
Stock.
I buy rods 5,000 at a time and nuts 10,000 at the same time. I have never run out of stock.
Back to the Basement Building Questions Answered menu.
|
Back to the Basement Building Construction Manual menu.
|
For a fixed fee of £199 I will answer all your questions by email. More details here.

|
|
|